
Week 02 : Computer-aided design
the assignment for this week are:
- We need to make a 2D and a 3D Model using CAD programs
It is the second week; we got to work with various designing tools that help to design anything with the use of computer. It was so interesting; especially that it was my first time working with a 3D program CAD. That's why it was so challenging at first to do a proper job (after all we learn from our mistakes)
"2D vs. 3D"
First, let us have a quick look on what are 2D & 3D:
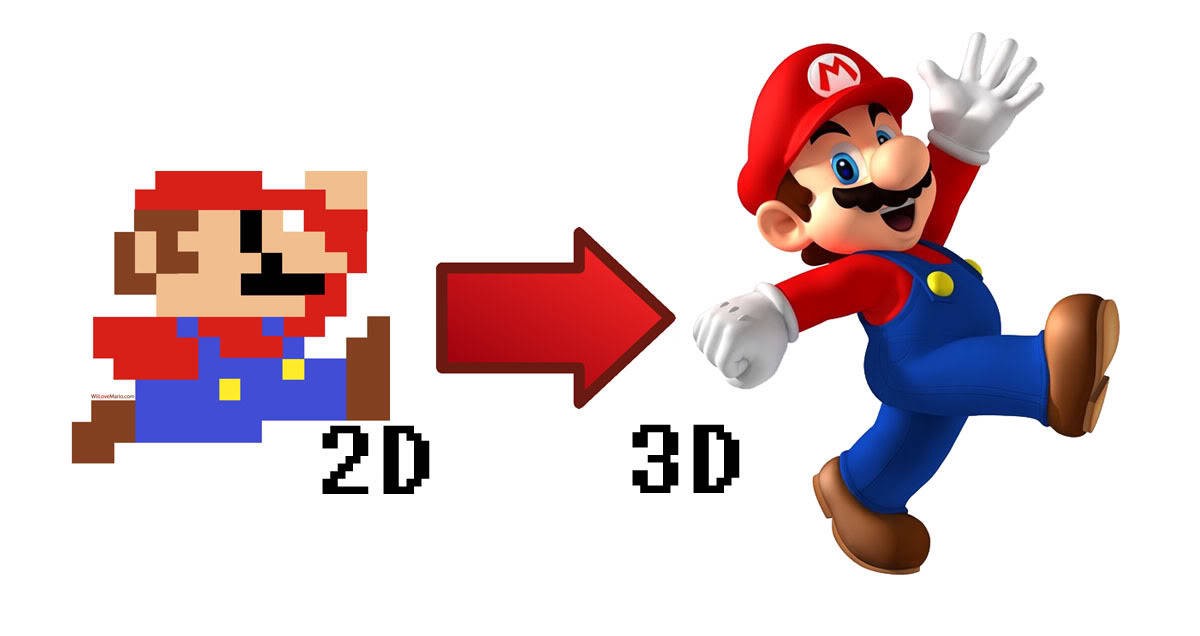
A 2D, or two-dimensional, shape has length and height as its dimensions. Also known as, plane shapes, they can be plotted in a graph on the x- and y-axes. Circle, triangle, and square are some of the most common examples of 2D figures.
On the other side, a 3D, or three-dimensional, shape has length, height, and width (depth) as its dimensions. Mathematically, 2D figures are plotted on the x-, y-, and z-axes of a graph. Cylinders, pyramids, and cubes are some of the most common examples of 3D shapes.
2D DESIGN
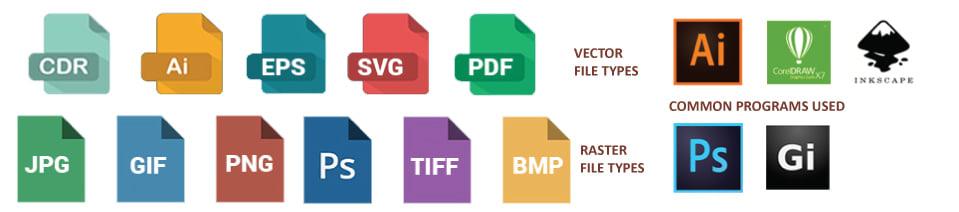
RASTER vs. VECTOR
Raster graphics, also called bitmap graphics, a type of digital image that are made up of numerous of tiny squares called pixels, or picture elements, arranged in a grid formation to represent an image. The resolution of the image depends on the amount of pixels; the more pixels, the higher is the resolution, which require more storage.
File extensions:
.JPG/.JPEG, .GIF, .PNG, .TIF/.TIFF, .BMP
On the other hand, we got the vector graphics, which unlike raster graphics, vectors are created from mathematical paths, curves, and points. This produces a sharp, clear edge. Vector graphics are able to scale up or down infinitely without losing quality, so they retain the same crispness when printed on something as small as a business card or as large as a billboard. However, unlike raster graphics, vector graphics usually cannot achieve photo-realism.
File extensions : .SVG, .EPS, .PDF, .AI, .DXF
For the 2D assigment, I chose GIMP as an example for a raster graphic editor
GIMP
GIMP is a free and open-source graphics editor used for image retouching and editing, free-form drawing, converting between different image formats, and more specialized tasks.
I was somehow familiar with this kind of softwares, so it wasn't really that bad experience. I tried to make some logos with it
And it was such a fun experience ~
Well, as a first part of making my logo , I had to draw a circle in a cercle to make borders
PS: GIMP is not the best option over here but it's not the worst, you only have to have patience and knowledge on how to work with it
the steps:
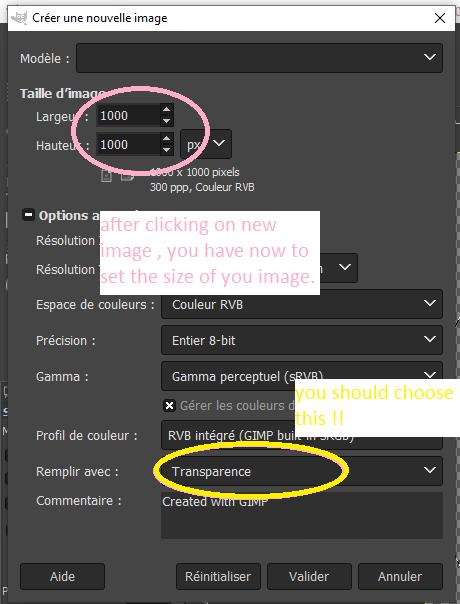
First of all, you have to make a new layer for your work
you should set the center of your work, to make it easy to draw a circle here. and with the use of the key bord(Ctrl+the shift key) you're going to make a perfect circle
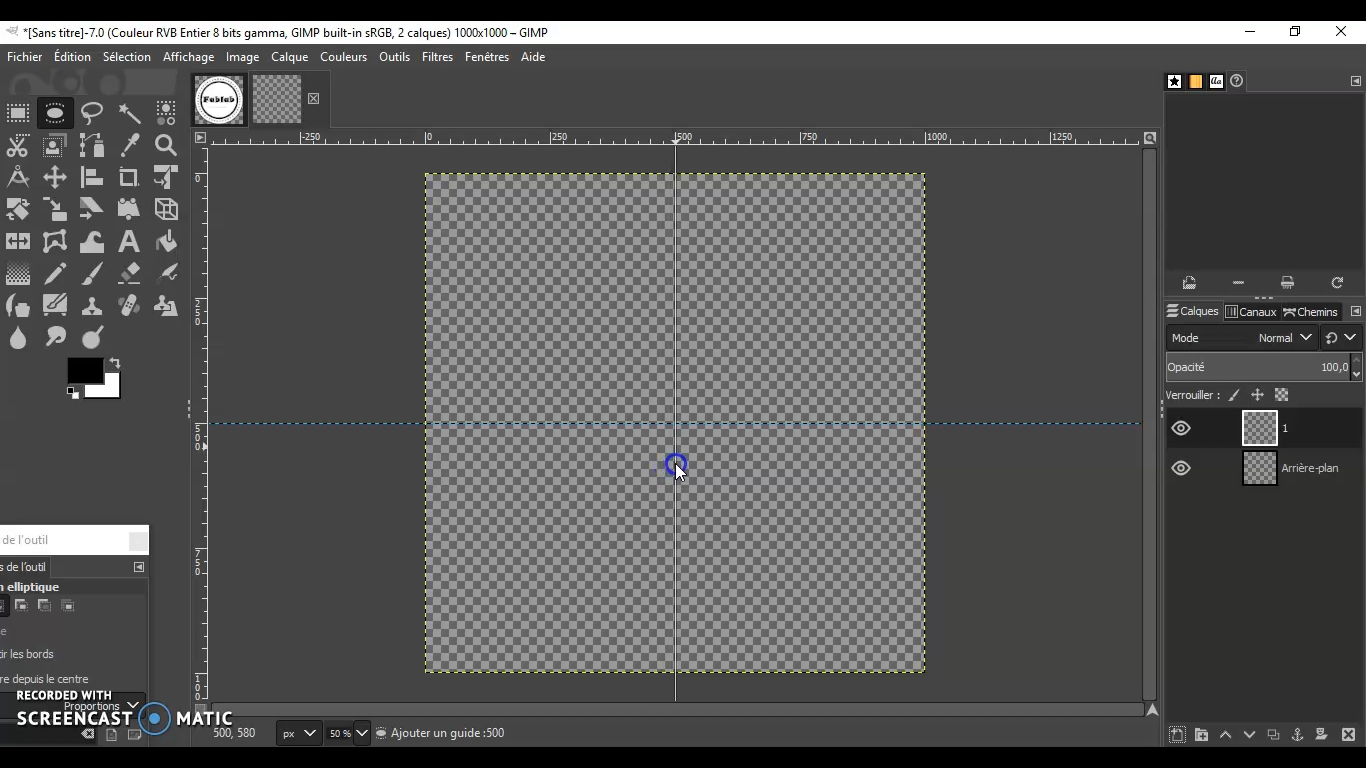
And tada! I'm done with the first circle
that was the outer line of my logo
And the it's the same with the other layers: New layer>new circle> Fill with AP color
.png)
.png)
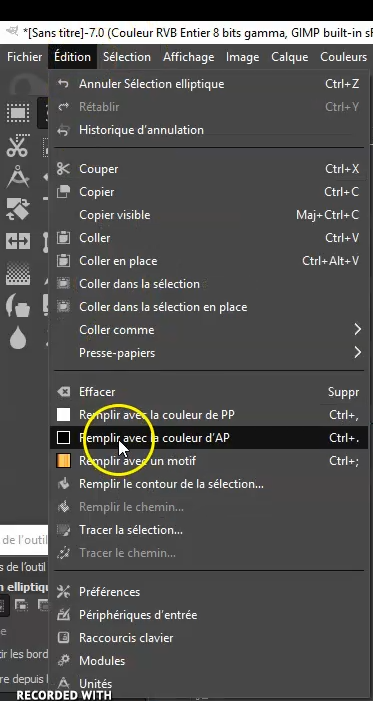
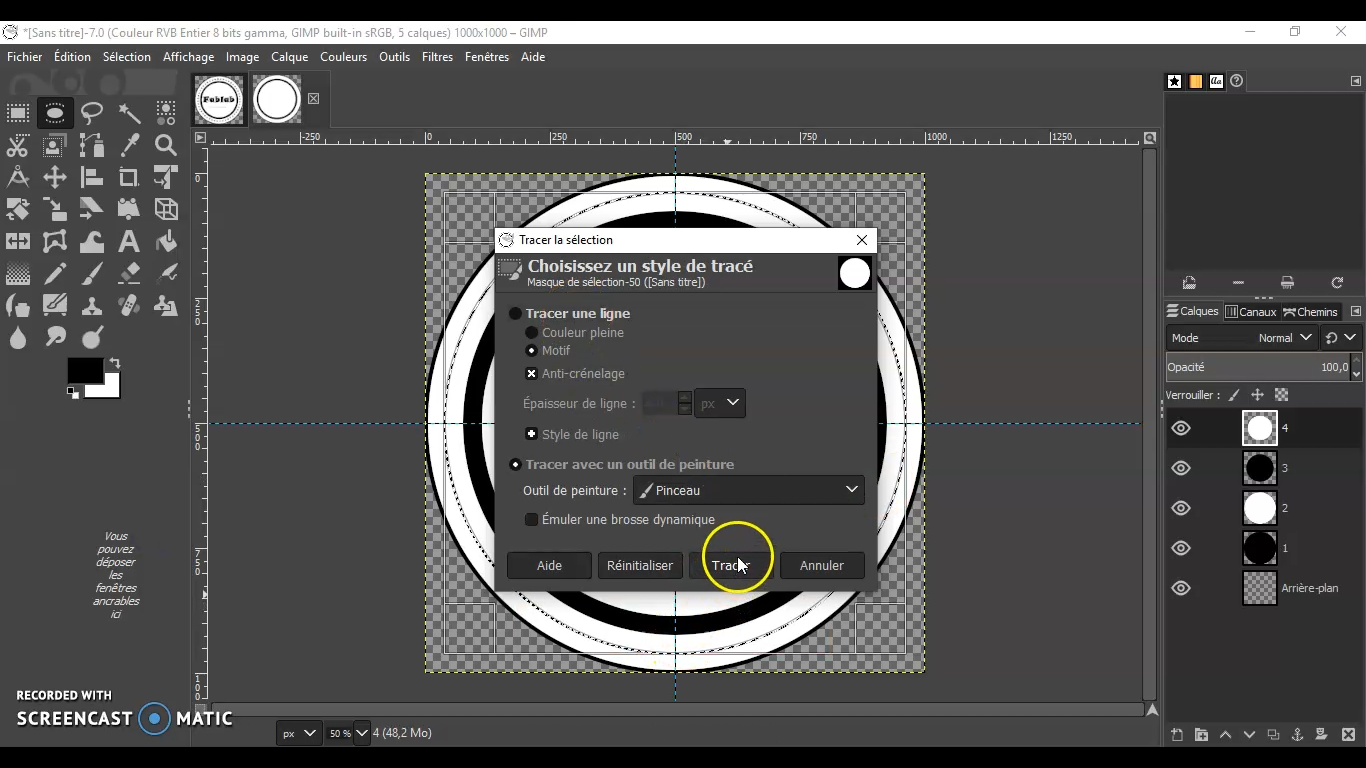
PS:for the outerlines that looks like a bunch of stars; I used the following
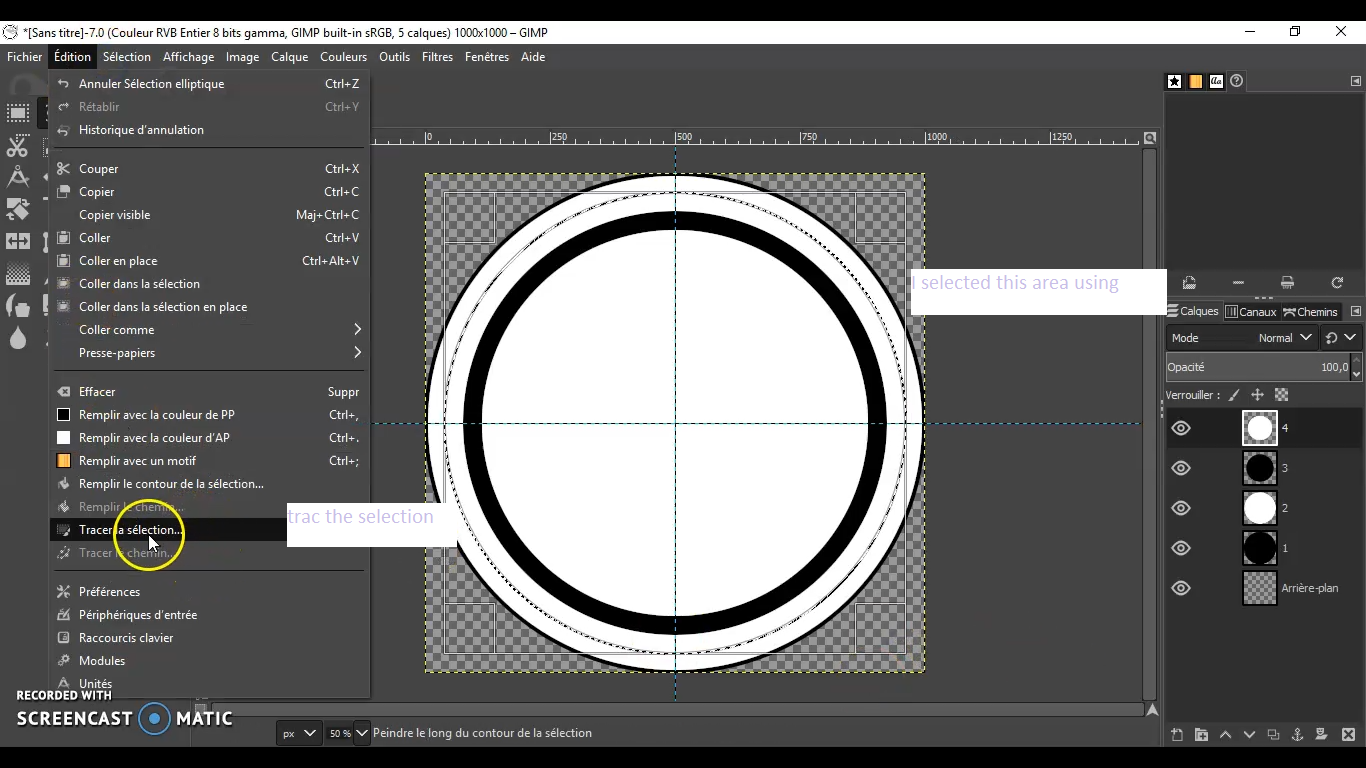
EDIT>TRACE THE SELECTION
.png)
and now All I have to do is Writing
.png)
Et voilà
INKSCAPE
As for the victor graphic editor,there's a lot of options as well. However I wanted to try Inkscape which is a free and open-source vector graphics editor. It can be used to create or edit vector graphics such as illustrations, diagrams, line arts, charts, logos, business cards, book covers, icons, CD/DVD covers, and complex paintings!
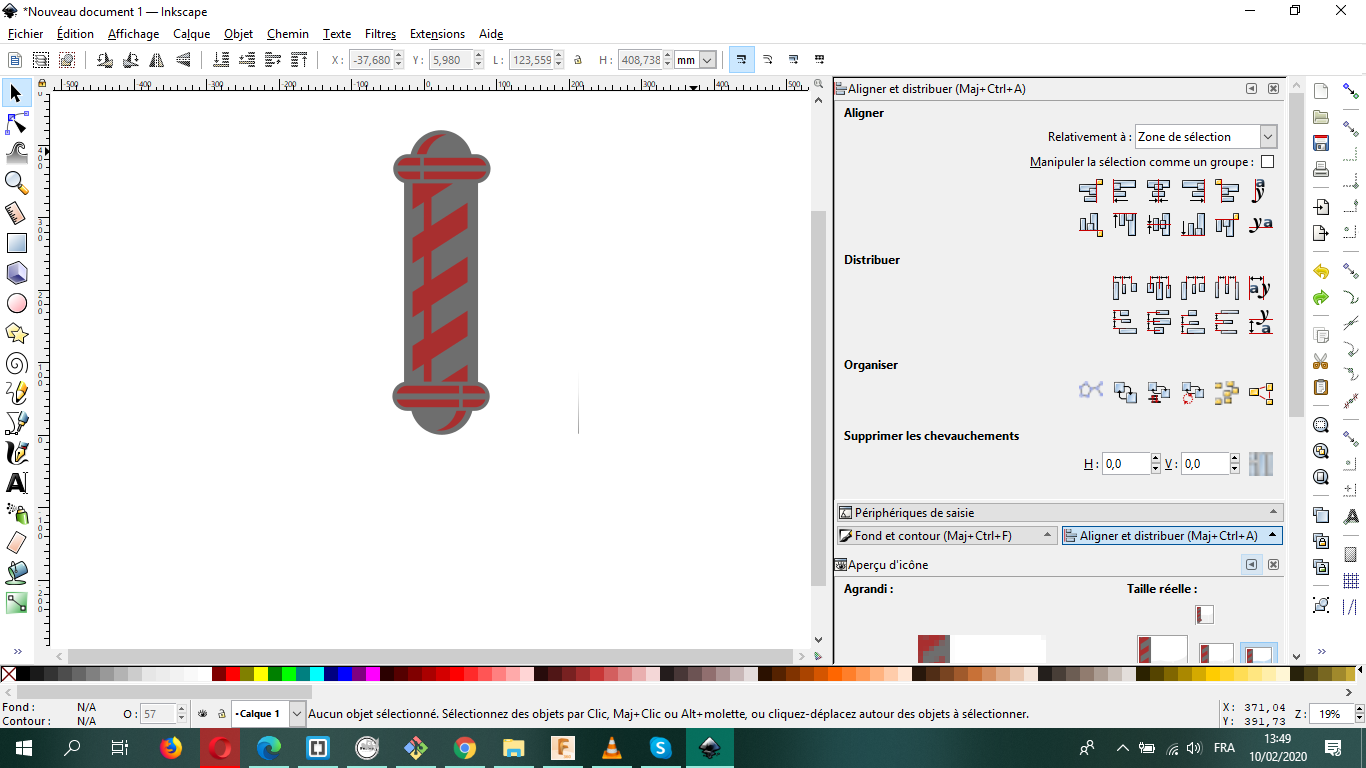
Here too, I wanted to use INKSCAPE to make a 2D logo, which turned to be so good; I decided to do a barbarshop POLE
The Steps:
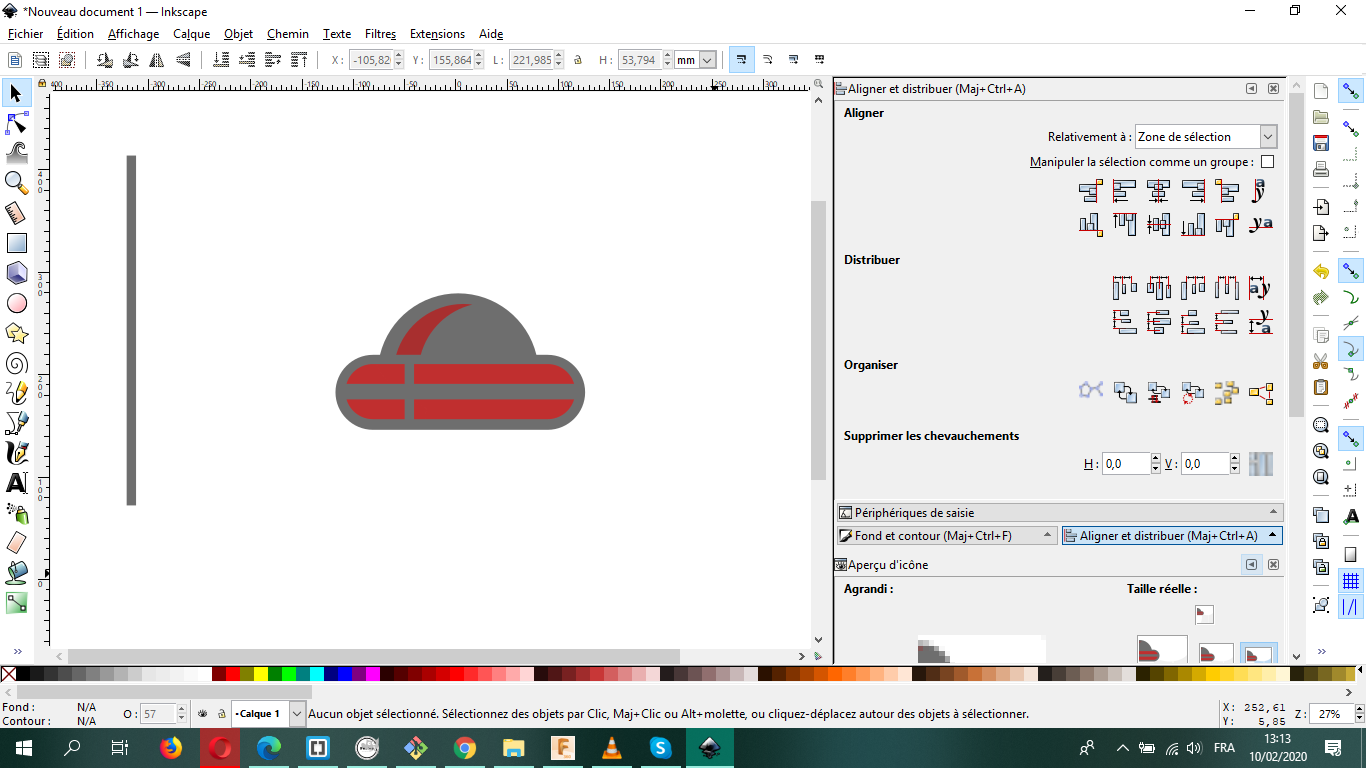
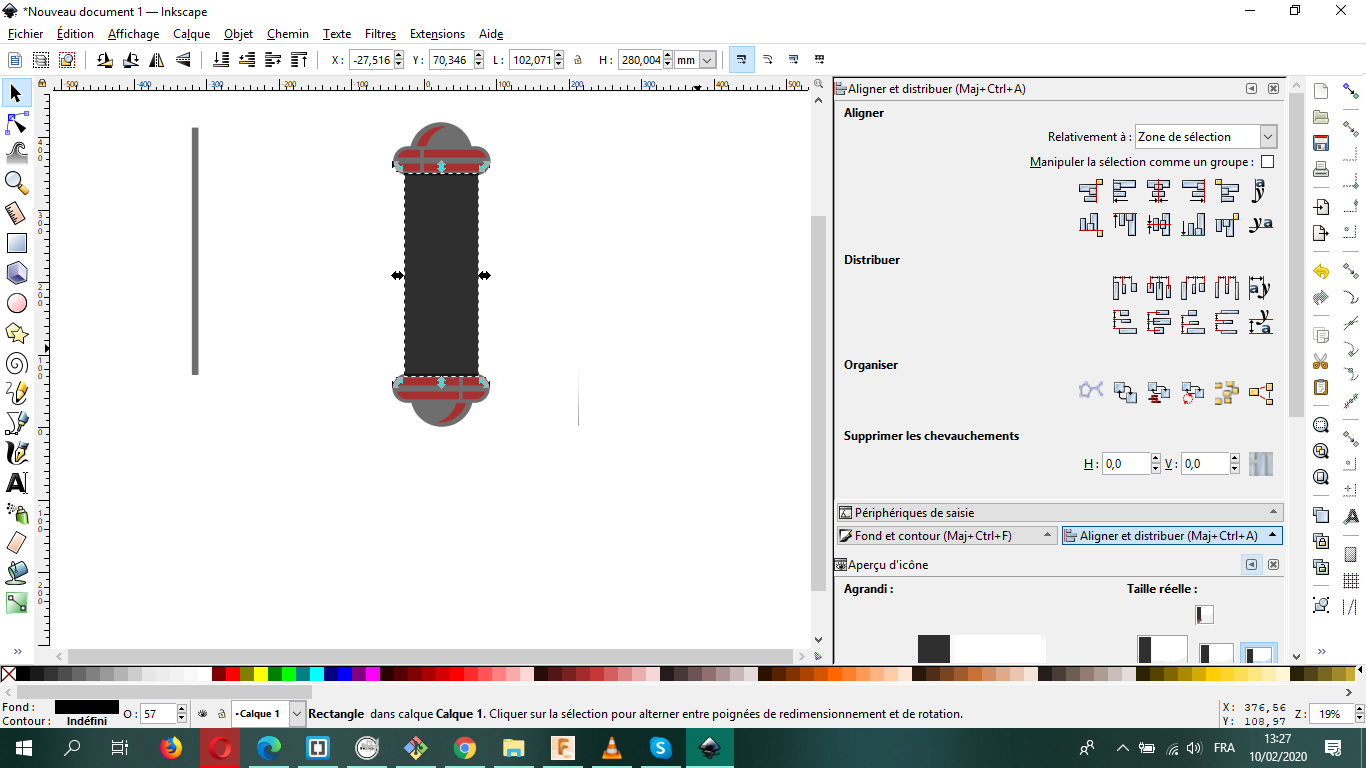
I began with doing the head of the pole.I choose 3 different colors to work with (It's easier this way )
.png)
Select the two objects>Path>Difference
.png)
.png)
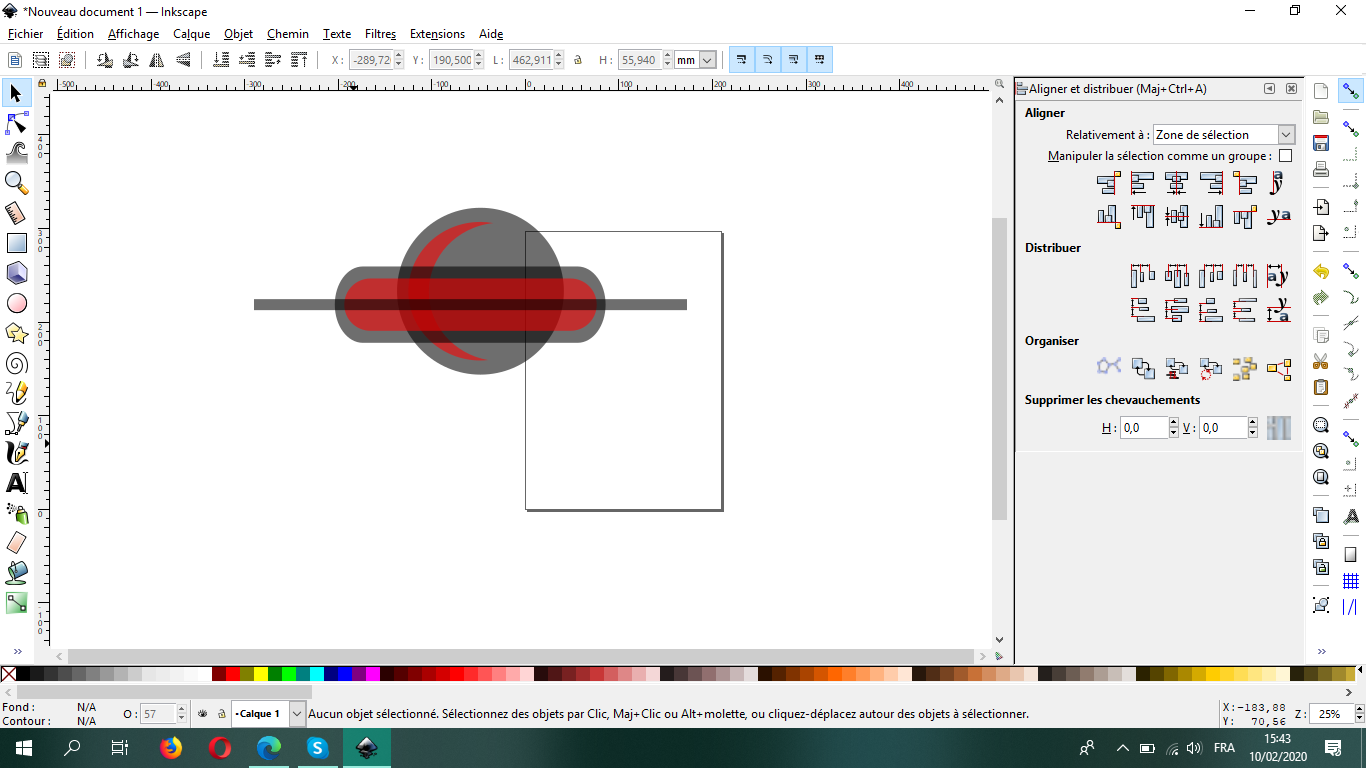
For some shadow effects,I made a rectangle and then I selected it with the wanted area and the "Difference Operation"
Path>Union:it unites the different layers to a one layer , and it gave you the freedom to move your model around
For the other part, it's practically the same thing over and over
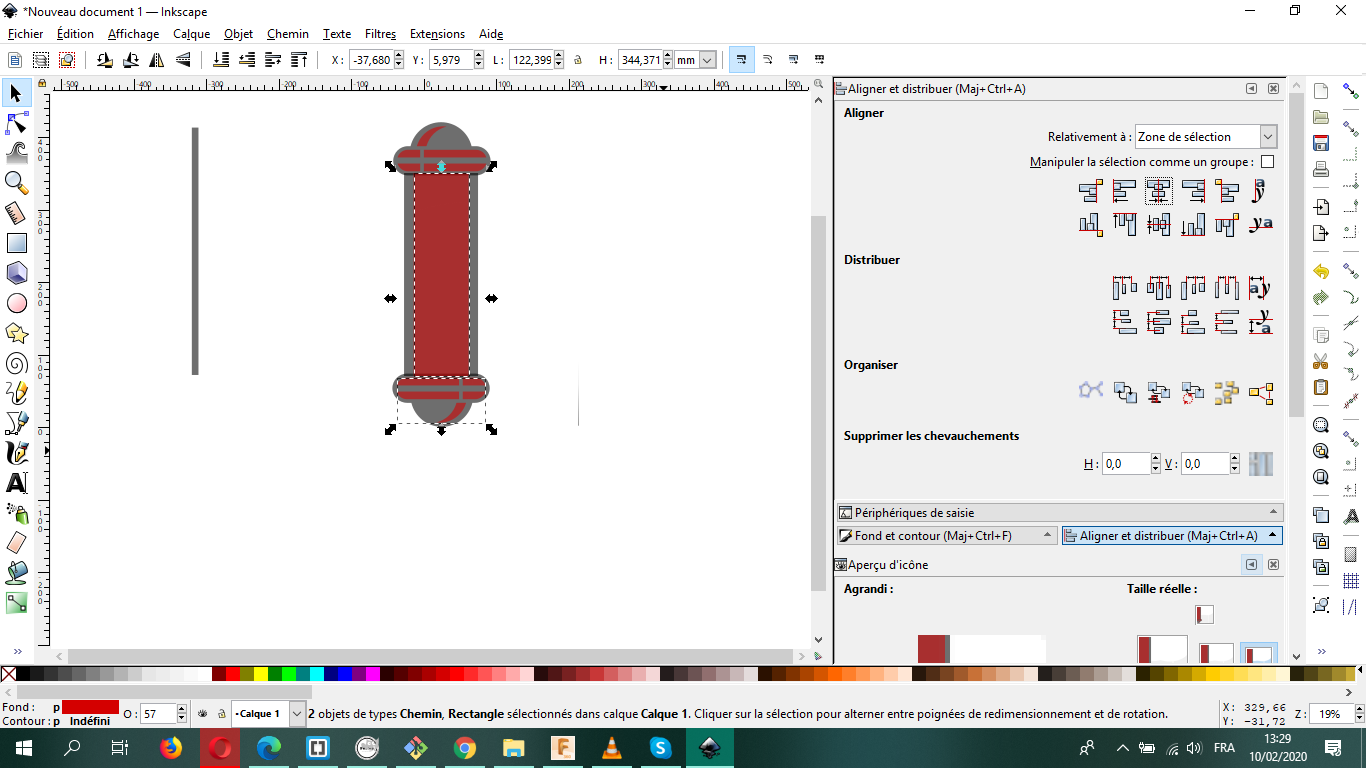


Then path>Difference and increse the capacity of the model!
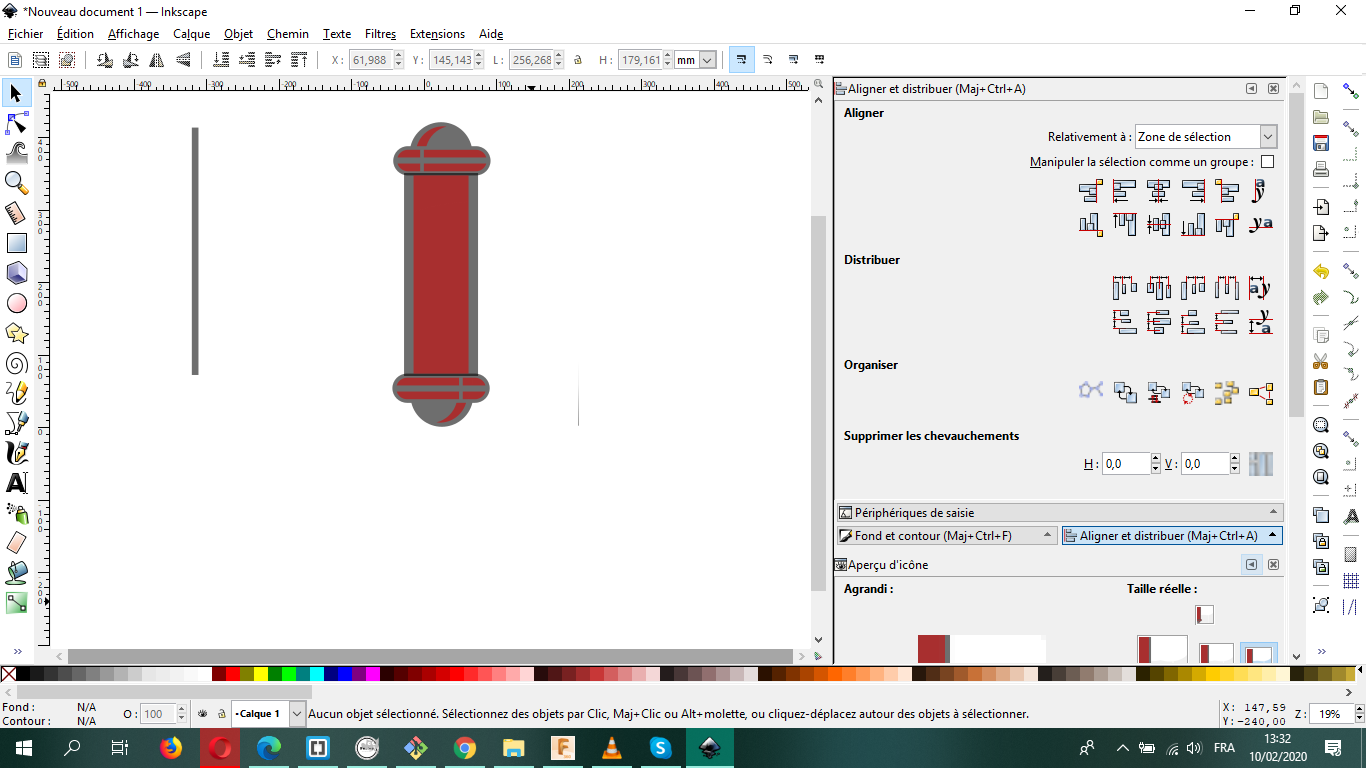
It's time for the background of the pole
.png)
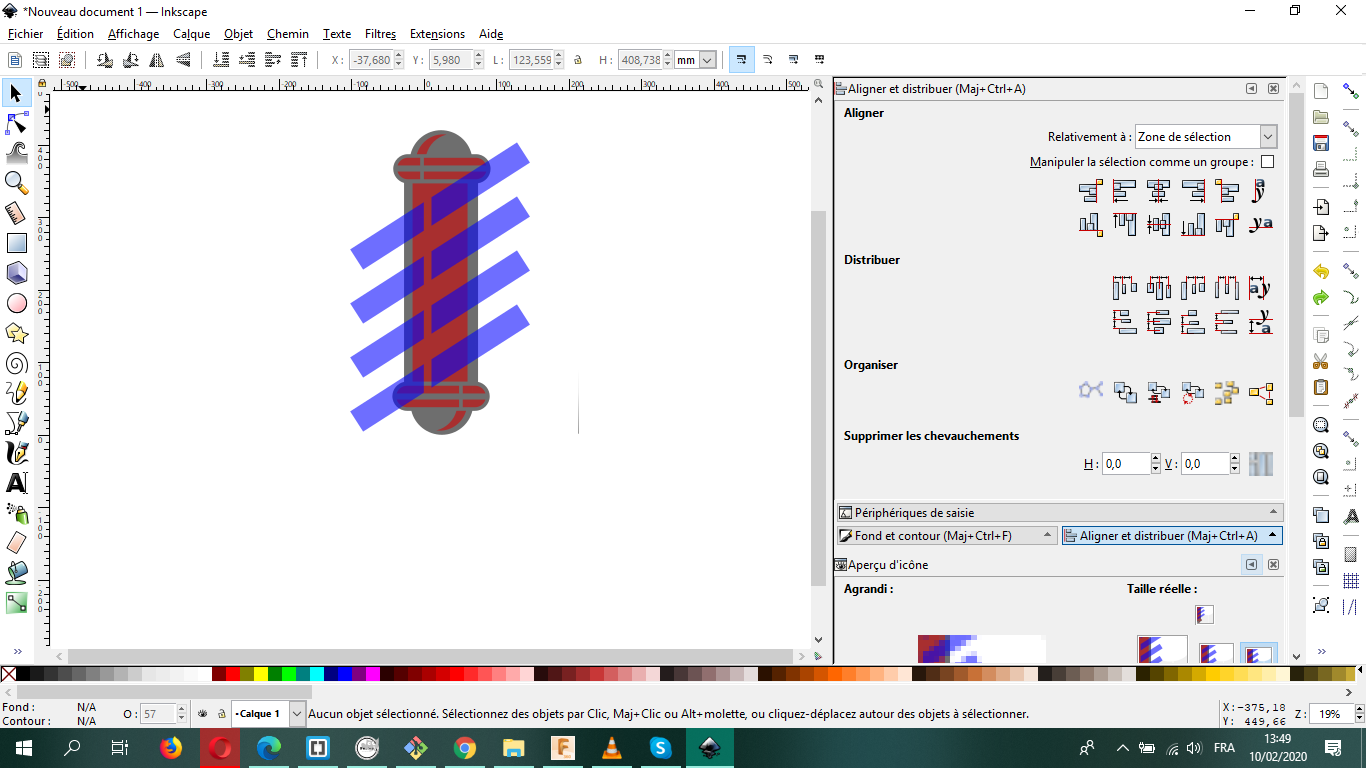
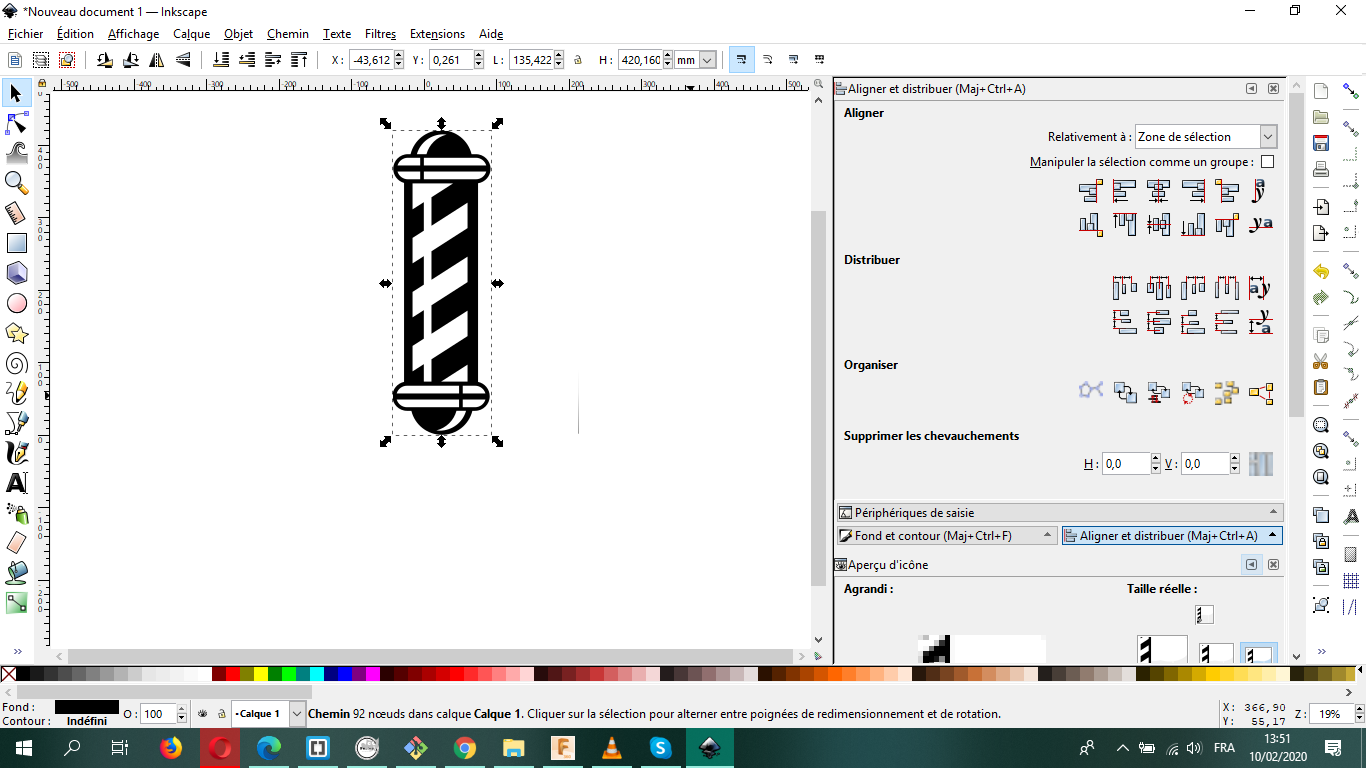
I downloaded a peace of wood from internet and then I resized it to the size of the circle and then I selected bothe of them and made the "Difference operetion of both of them.
.png)
And voilà!!!!
.png)
3D design:
In 3D computer graphics, 3D modeling is the process of developing a mathematical representation of any surface of an object (either inanimate or living) in three dimensions. This can be achieved through specialized software like: Fusion 360 , Blender ,SolidWorks , OpenSCAD, etc..
This was clearly the toughest part, since I never made a 3D model before, so I decided to use Fusion 360 since it seemed easy to work with. After watching a couple of tuturiol videos on how it works , I tried to make some simple simple things while following some videos, through this I learned, how to turn a simple sketch into a 3D model!
=> Before starting sketching you have first to choose your planer face of the Top/Bottom, the Right/Left or the Front/Back on the x-, y- and z-axes of the work space;
As a starting point after defining your place of work on the x-, y-, and z-axes, you start to sketch the bases of your Model, with the help of tools,you can determine your specific dimentions, forms ,etc ..
With the instructions of some tutorial videos, I managed to turn some simple sketching into a "model of an old ship wheel" *_*
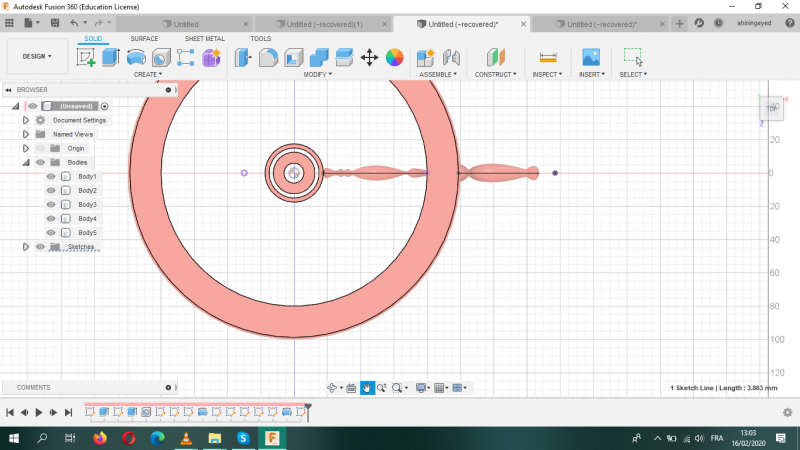
I made a new model of a boat wheel, I had to make sure that I learned how to make designs from scratch, first of all I made the basic sketch for the Felloe and the central spindle as I did before, then CREAT>MERROR
As for the spokes, I started with the first one ; I started with the construction lines to define my workplace

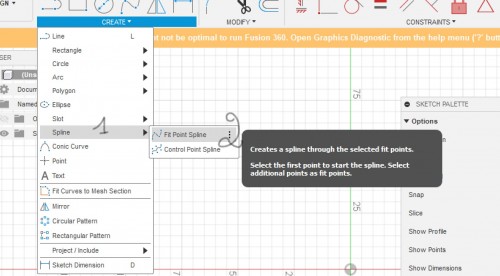
And then CREATE>SPILINE to define the form of the spoke that I want to make

Don’t do

I made a mistake while doing my sketch, which was trying to mirror the sketch lines before the REVOLVE part, that’s why when I tried to revolve it around the X-axe, the form of my spoke turned to be so weird
Then it was the time for the Handles. I followed the same Steps above.
It was now the time for the ENVOLVE that turns any sketch to a “something”, all what you need to do is selecting the planer face of your sketch and then the axe that you want your model to turn around and everything will work on its own

IT DEFINETLY WORKS LIKE MAGIC
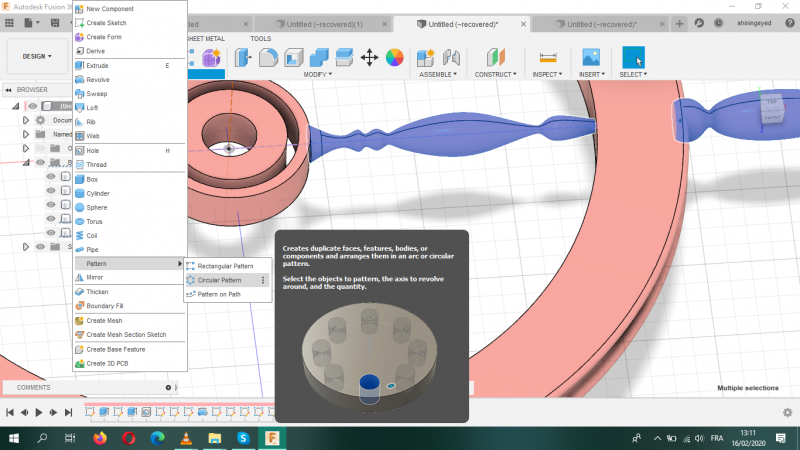
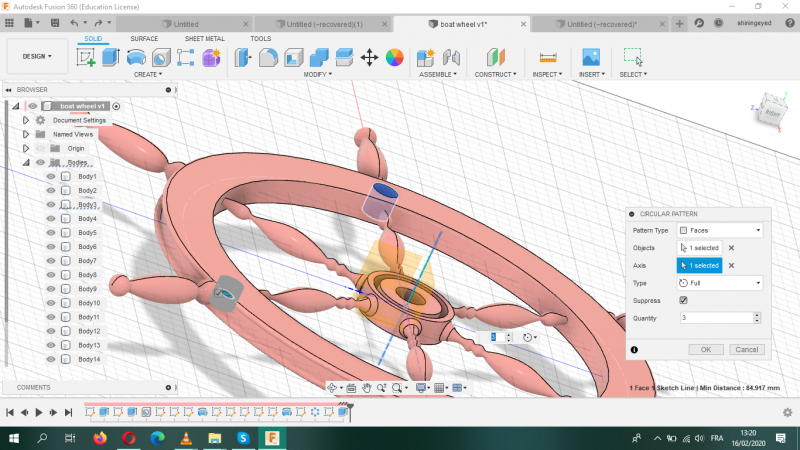
As for the other Spokes and handles, I only had to go to the menu; CREAT>Pattern>circular pattern, select the original ones and then the axis to get them revolving around it, the same goes for any other thing , I tried to make any kind of forms to decorate the wheel
2D
3D
